The most common complaint about frameless shower glass isn't breakage or hardware failure. It's glass that looks permanently foggy within a year of installation. The cause is almost always the same: calcium and magnesium mineral deposits from hard water, left to accumulate because nobody explained how to prevent them. This guide covers everything you need to maintain frameless glass — showers, railings, and mirrors — so it looks as good in year ten as it did on install day.
Understanding the Real Enemy: Calcium Deposits
GTA tap water — from Toronto, Pickering, Vaughan, Mississauga, and most surrounding municipalities — is moderately to highly hard. "Hard water" means it contains elevated concentrations of dissolved calcium and magnesium bicarbonates. When this water evaporates off your shower glass (which happens every time you shower and don't dry the surface), it leaves those minerals behind as a white, chalky, increasingly opaque film.
The insidious part: in the early weeks, these deposits are barely visible and come off easily. By month three, they've begun to etch slightly into the glass surface (not structurally, but optically) and require more effort. By month twelve of neglect, you're looking at a build-up that requires acidic cleaning agents and significant scrubbing — and even then, you may have permanent etching that no amount of cleaning will fully reverse.
The solution is not a better cleaning product. It's frequency. Removing mineral deposits when they're fresh (daily or weekly) requires almost no effort. Removing them after they've accumulated requires significant effort. This is the single most important concept in frameless shower maintenance.
The 30-Second Daily Habit That Changes Everything
Every shower should end with a squeegee pass. Full stop. This is the single most impactful maintenance action you can take, and it takes less than thirty seconds. The goal is to remove standing water from the glass surface before it can evaporate and leave mineral deposits.
The correct technique: starting from the top corner, draw the squeegee down the full height of the panel in overlapping vertical strokes. Cover the inside of the door (both sides if you can reach), the fixed panels, and if time permits, the tile walls. The water you're removing is carrying dissolved minerals — every drop you remove is minerals that won't deposit on your glass.
A good quality squeegee matters. The 16" rubber-bladed variants designed for shower glass last significantly longer than hardware-store versions and cover more area per stroke. Keep it on a hook inside the shower so it's immediately available after every use. If it's not inside the shower, it won't be used consistently.
"The squeegee is not optional if you want your frameless glass to look good indefinitely. It's the price of admission for the investment you've made."
Built By Glass — Installation Handover Notes
Weekly Cleaning: The Right Method
Even with daily squeegeeing, some mineral deposits and soap scum will accumulate over time — especially at the bottom edges and in corners. A weekly cleaning prevents this build-up from becoming entrenched. The process:
- Spray the glass with a pH-neutral glass cleaner or a diluted white vinegar solution (1:1 vinegar to water). Spray liberally and let it sit for 2–3 minutes. The mild acidity dissolves fresh calcium deposits on contact.
- Wipe with a microfibre cloth in circular motions. Avoid scrubbing pads — even "non-scratch" varieties can create micro-scratches in glass that accumulate over time and increase mineral adhesion. A soft microfibre cloth is always the right tool.
- Rinse with clean water and squeegee dry. Leaving any cleaning solution residue creates its own film.
- Don't forget the frame and hardware. Silicone seals, hinges, handles, and clamps accumulate soap scum and should be included in the weekly clean. Use the same pH-neutral cleaner. For hardware, a soft brush (an old toothbrush works well) can reach into hinge crevices.
Products: What to Use and What Will Damage Your Glass
✓ Safe to Use
- pH-neutral glass cleaners (Rejuvenate, Bio-Clean)
- White vinegar diluted 1:1 with water
- Diluted dish soap (for soap scum)
- Soft microfibre cloths
- Squeegee with quality rubber blade
- Bar Keepers Friend (Soft Cleanser) for stubborn stains
- Rain-X (for periodic water repellency)
✗ Never Use on Glass
- Windex or ammonia-based cleaners
- Bleach or chlorine cleaners
- Abrasive pads (green Scotch-Brite, steel wool)
- Razor blades (even at shallow angles)
- Undiluted acidic cleaners on hardware
- Magic Erasers (micro-abrasive)
- Alkaline cleaners (pH above 9)
The ammonia in Windex is the most common mistake. It cleans effectively the first time — which is why people keep using it — but over time it breaks down the sealants at glass edges and joints, and leaves a film that actually attracts minerals faster. Ammonia also attacks chrome and lower-grade hardware finishes. For a frameless shower, the investment in a proper pH-neutral cleaner pays for itself in preservation.
Hard Water Stains: How to Remove Them
If you're dealing with existing hard water build-up, the approach depends on severity. Fresh deposits (weeks old) can usually be removed with the vinegar spray method and some gentle scrubbing with a microfibre cloth. For older, thicker deposits:
Bar Keepers Friend Soft Cleanser is the gold standard for stubborn glass mineral deposits. Apply the cream to the damp glass, work it in circular motions with a damp cloth, let it sit for 1–2 minutes, then rinse thoroughly. The mild oxalic acid dissolves calcium carbonate without scratching glass. Do not use the powder form on glass — the abrasive particles are too coarse.
For severe build-up that has begun to etch the glass surface, professional restoration may be needed. Specialized diamond polishing pads can restore glass clarity, but this is beyond DIY territory and requires a professional with the right equipment. Prevention — through daily squeegeeing and weekly cleaning — is always cheaper than restoration.
Your glass is only as good as the installation behind it
Properly installed frameless glass with quality silicone seals is easier to maintain and lasts longer. Get it right from day one — free consultation across the GTA.
Nano Coatings: Are They Worth It?
Nano coatings — hydrophobic surface treatments applied to glass — cause water to bead up and run off rather than sheeting on the surface. The result is that significantly less water remains on the glass after a shower, which means significantly less mineral deposit. Quality nano coatings (Rain-X Glass Treatment, CRL Clear-Vue, EnduroShield) reduce cleaning frequency by 3–4 times and make the cleaning that is required dramatically easier.
The catch: nano coatings wear off. Most last 6–18 months depending on the product quality, application, and how often the shower is used. They need to be reapplied on schedule — the manufacturer usually specifies when. If you wait until the coating has completely failed, you'll notice water is no longer beading and mineral deposits are accumulating faster. Reapplication is straightforward and takes about 30 minutes for a full shower enclosure.
Our recommendation: apply a quality nano coating at installation and mark your calendar to reapply every 12 months. The time saved in cleaning more than justifies the 30 minutes of reapplication. Built By Glass applies a professional-grade hydrophobic coating as standard on all frameless shower installations — ask about this when booking your installation.
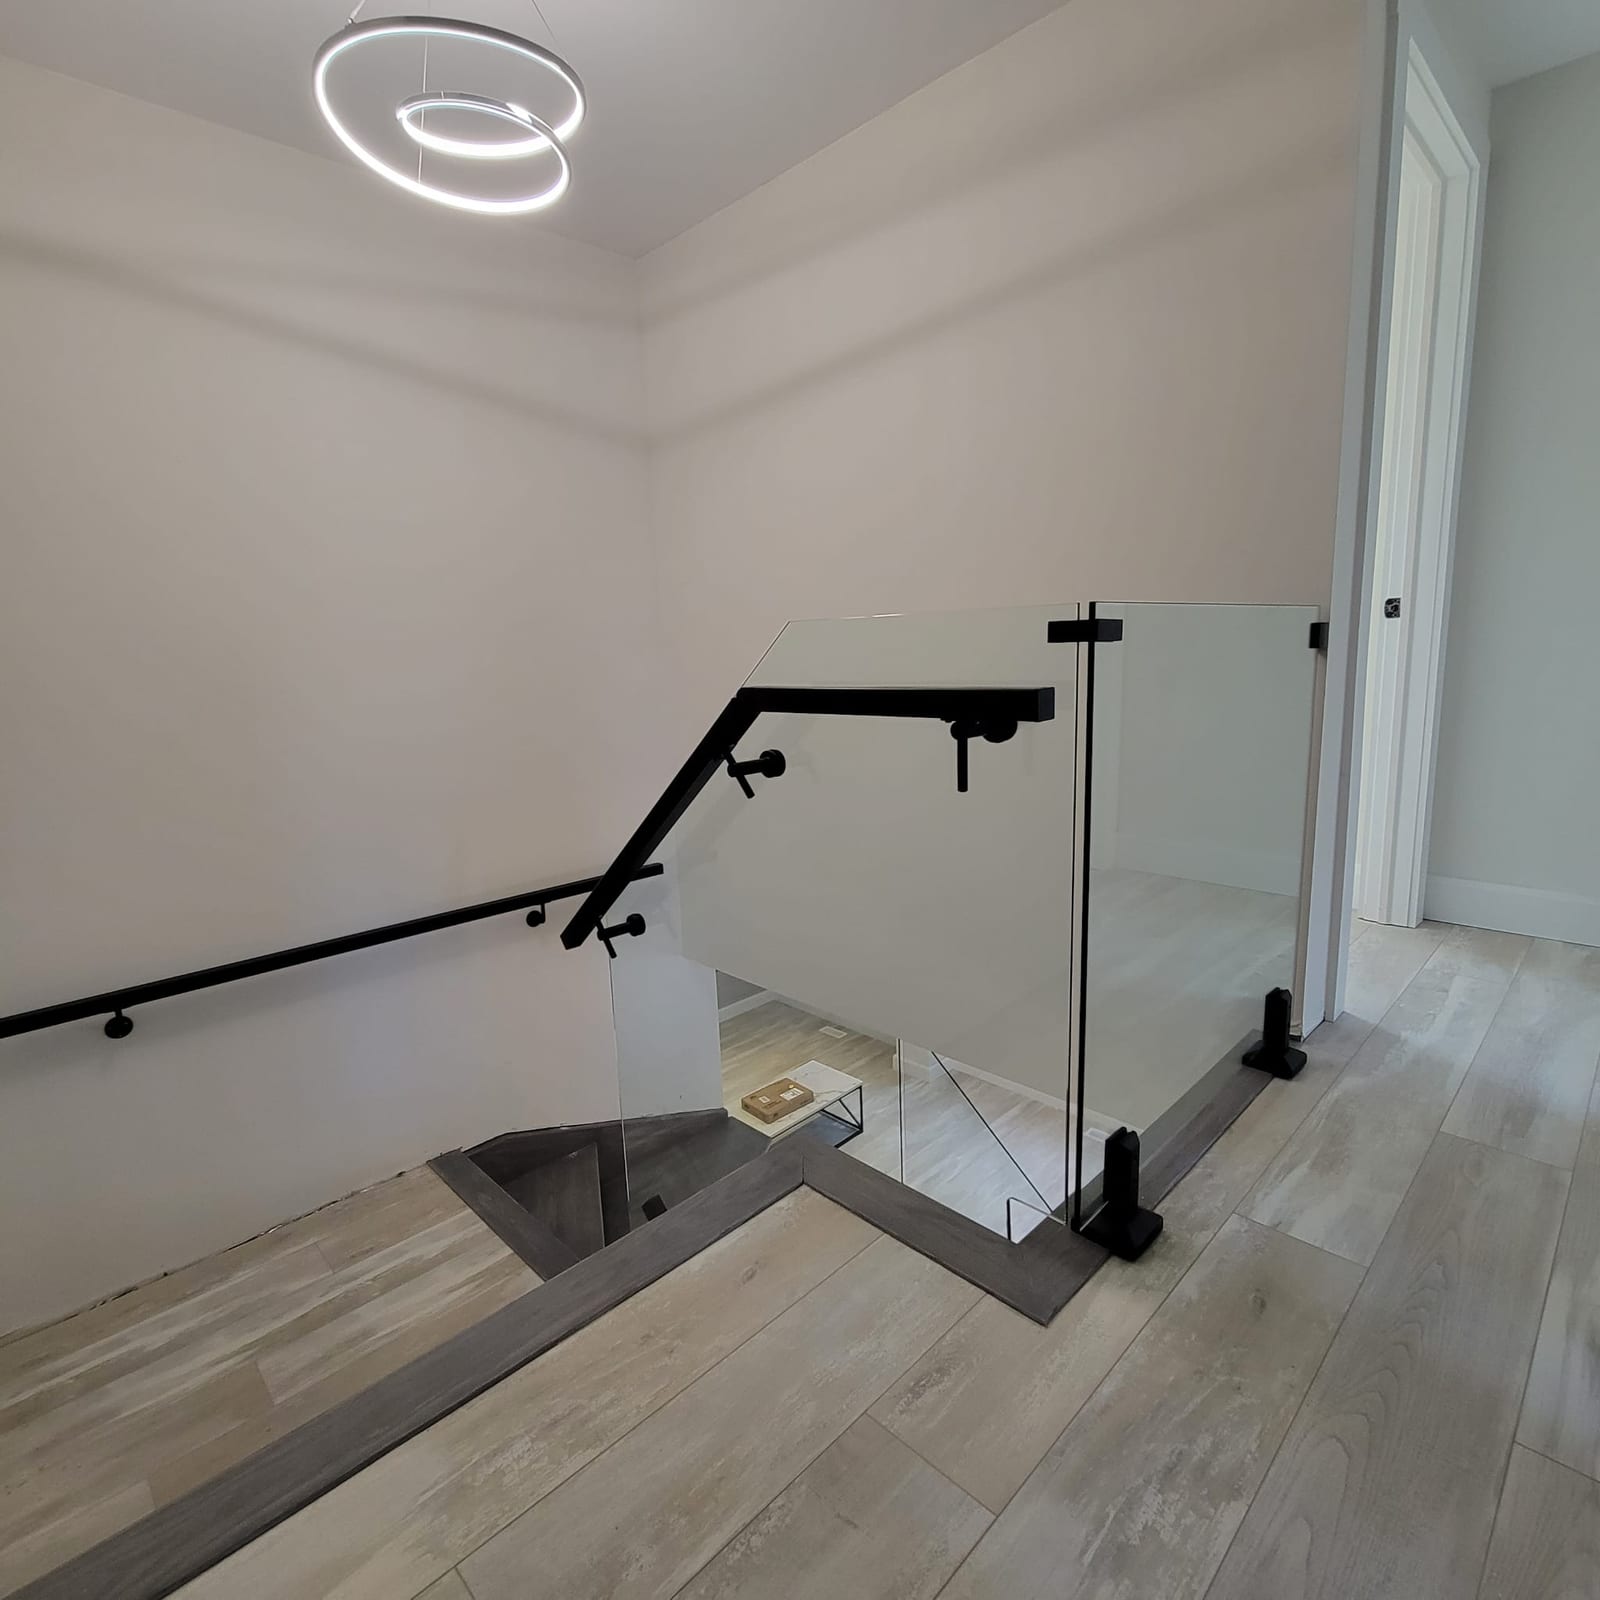
Glass Railing Maintenance: The Seasonal Checklist
Exterior glass railings have different maintenance needs than shower glass. They're exposed to weather, UV, pollen, bird droppings, and seasonal temperature cycling. Here's what to check and when:
Spring Check (After Winter)
- Inspect all hardware for surface corrosion or rust staining
- Check silicone sealant at base channels for cracks or separation
- Torque-check all hardware fasteners (hinges, clamps, posts)
- Clean glass with mild soap solution; rinse thoroughly
- Check post anchoring into deck surface for any movement
Fall Check (Before Winter)
- Re-seal any cracked or separated silicone joints
- Apply silicone spray to hinge pivot points if applicable
- Check for any chips or cracks in glass panels (especially corners)
- Clean track channels of debris before freeze-thaw cycles
- Verify all drainage at the base channel is unobstructed
The most important railing maintenance task is the hardware torque check. Vibration from wind, building movement, and use gradually loosens fasteners over time. A loose clamp or hinge doesn't immediately compromise structural integrity — but over time, a panel that isn't firmly held will flex more, which puts additional stress on the glass and can eventually cause edge damage. Annual torque checks with the correct tool (usually a hex key or torque wrench at the manufacturer's specified setting) take 10–15 minutes for a typical railing run.
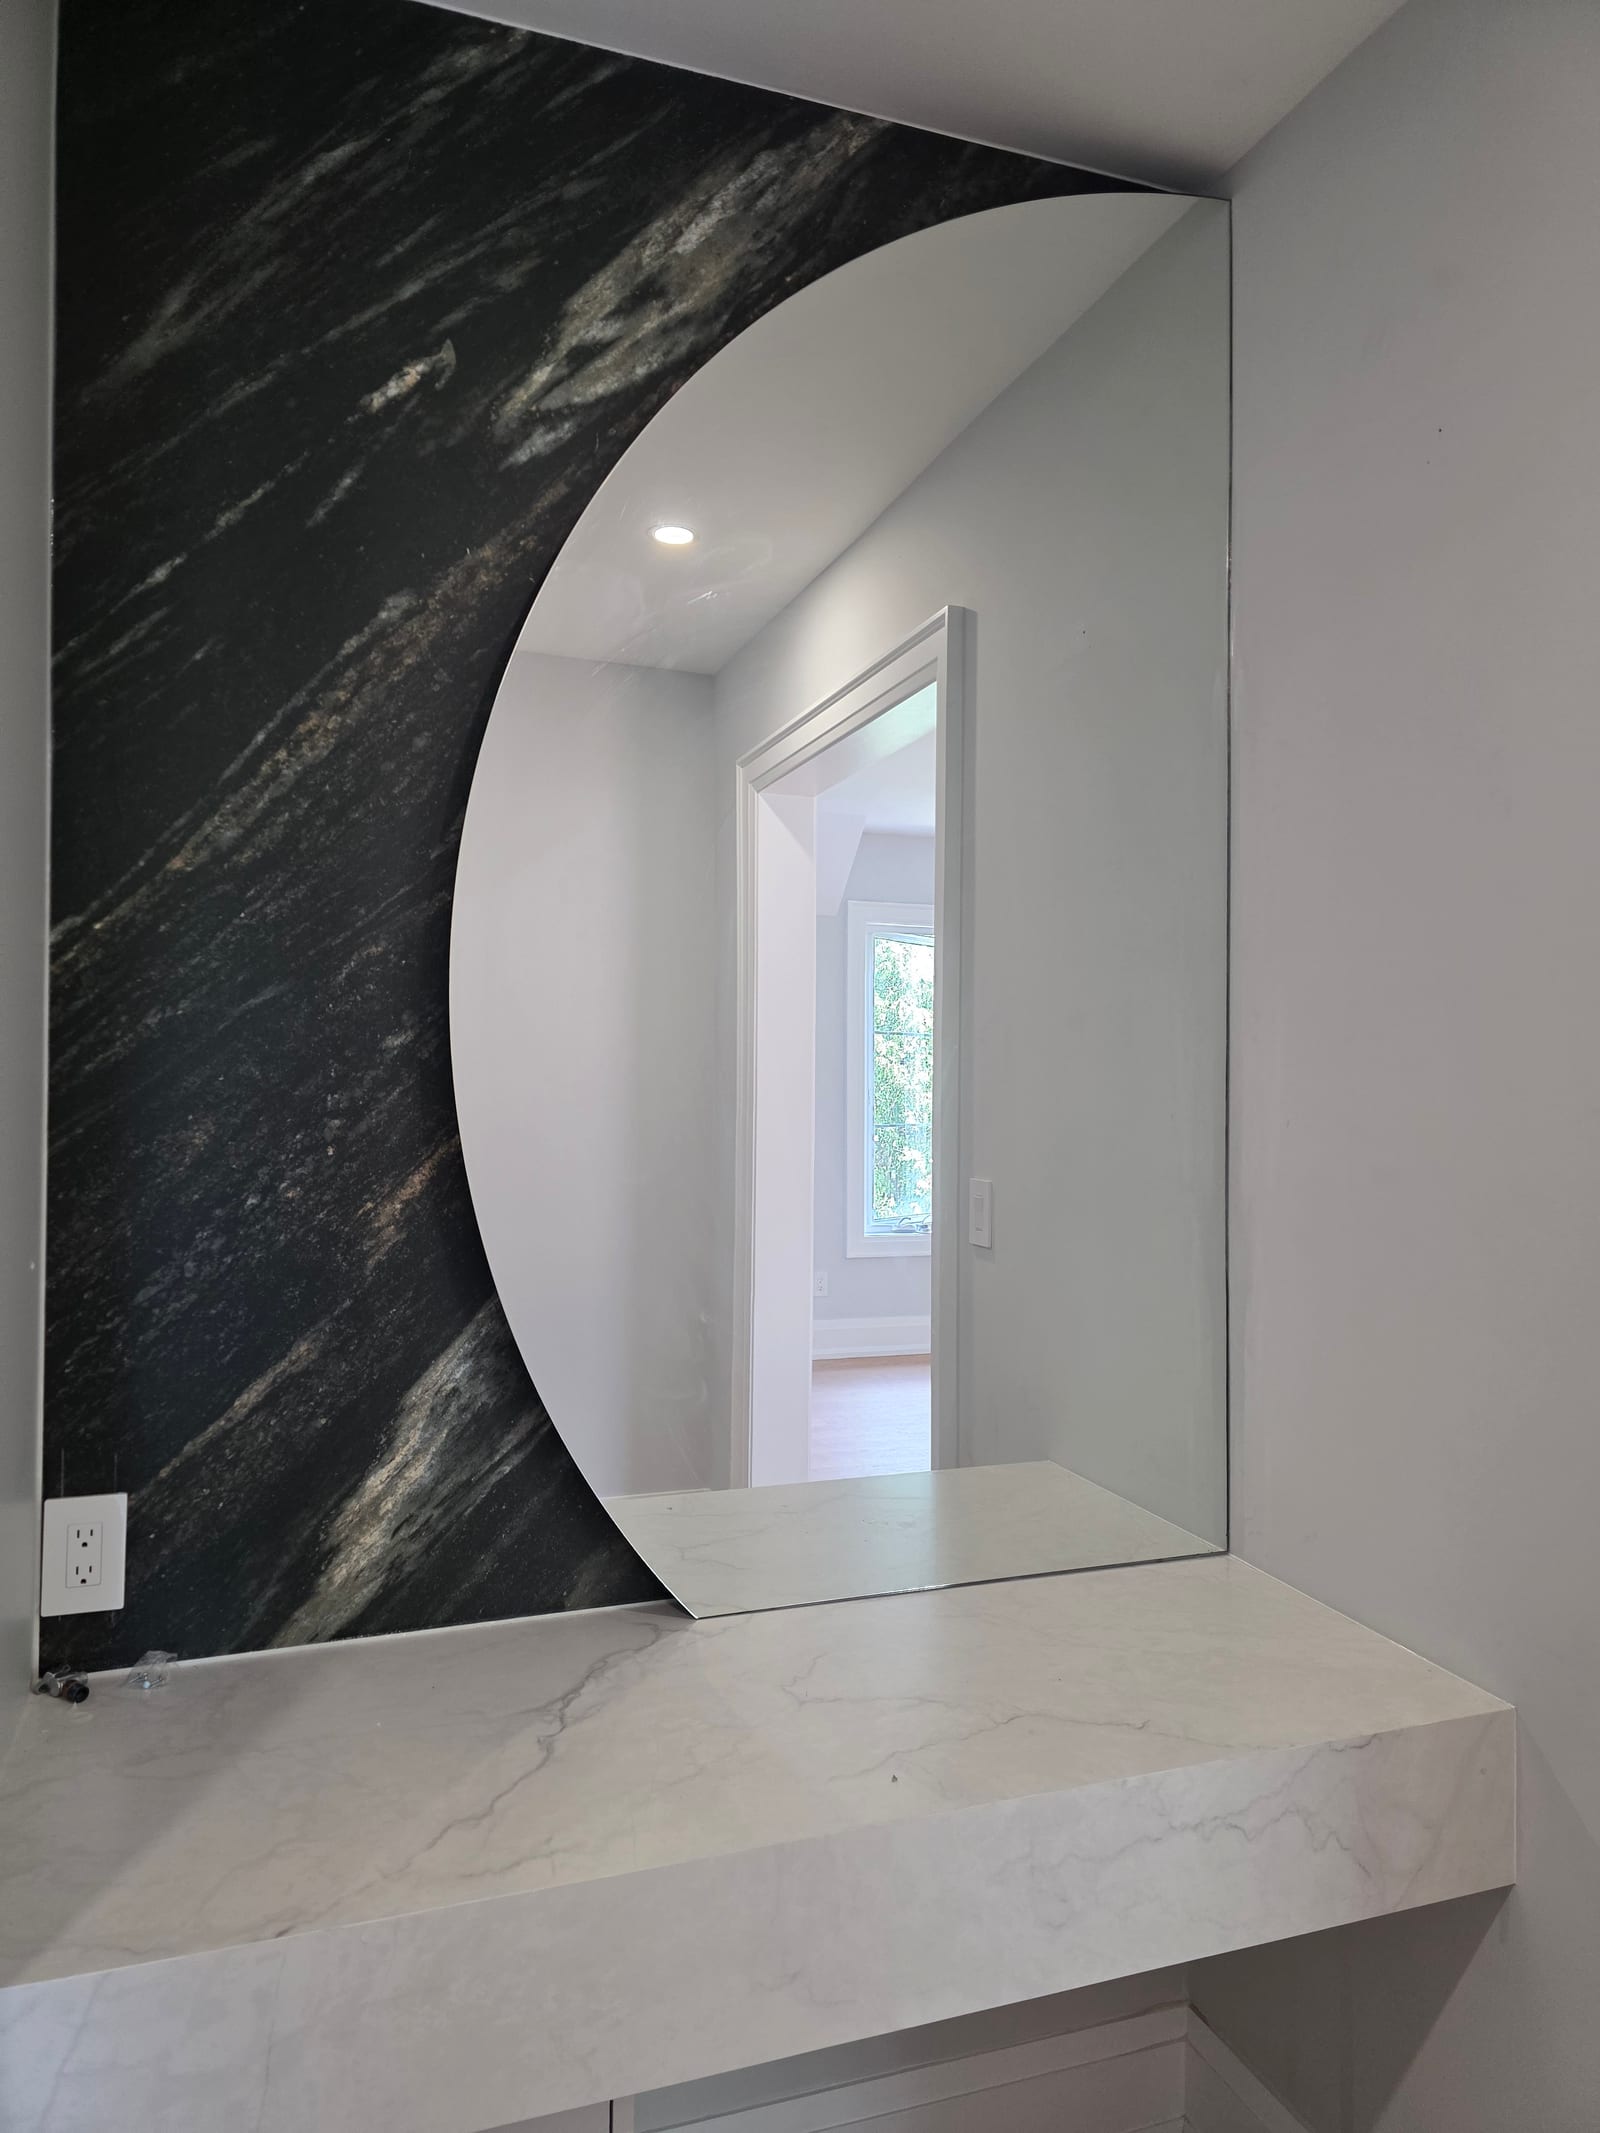
Mirror Care: Different Rules Apply
Custom mirrors require a slightly different care approach than shower glass, and using the wrong method is the leading cause of mirror degradation — specifically, edge corrosion of the silvering that gives mirrors their reflective quality.
The critical rule: never spray cleaning solution directly onto a mirror. Spray the cloth, not the mirror. If cleaning solution seeps behind the mirror frame or reaches the edge of the glass, it can penetrate to the silver backing and cause dark spots (called "de-silvering" or "black edging") that cannot be repaired — only replaced. This is particularly important for mirrors installed in humid spaces like bathrooms.
For routine cleaning, a lightly damp microfibre cloth with pH-neutral glass cleaner (sprayed on the cloth) is ideal. Wipe in long, even strokes to avoid streaking. Finish with a dry microfibre cloth for a streak-free result. Avoid the edges entirely — the centre of the mirror is all you need to clean.
For bathroom mirrors specifically, ensure adequate ventilation to prevent condensation from sitting on the mirror surface repeatedly. Condensation alone won't damage the glass, but the minerals it deposits eventually will — and they're harder to remove from a mirror without risking the edge treatment.
When to Call a Professional
Not every glass maintenance issue is a DIY job. Call a professional glass company when you encounter:
- Chips or cracks in any panel — tempered glass with a chip at the edge or a developing crack should be inspected immediately. Under certain stress conditions, a chip can progress to full panel failure. Never use a chipped panel without professional assessment.
- Hardware that won't hold adjustment — a shower door that won't stay in alignment, or hinge hardware that keeps coming loose despite re-tightening, indicates either a failing hinge, incorrect fastener depth in the wall, or inadequate wall blocking. This needs a glass professional, not a general handyman.
- Silicone seal failure — cracked, detached, or mouldy silicone at shower enclosure joints isn't just aesthetic. It's the waterproofing seal. Replace it promptly before water damage to the surrounding structure occurs.
- Severe mineral etching — if heavy calcium deposits have been left untreated for more than a year, professional restoration may be the only option that avoids panel replacement.
Frequently Asked Questions
Soften the mineral film with a 50/50 mix of white vinegar and warm water, or a dedicated hard-water remover, let it sit for a few minutes, then wipe with a soft cloth and rinse. Never use abrasive powders or scouring pads — they permanently scratch glass. On coated glass, skip acids entirely and use mild dish soap; the coating is doing the anti-scale work for you.
A 30-second squeegee pass after each shower. It removes mineral-loaded water before it can dry into scale, and it outperforms any cleaning product. Pair it with a weekly mild-soap wipe-down and the glass stays showroom-clear for years.
Avoid abrasive powders, steel wool, and scouring pads on glass; ammonia-heavy cleaners around mirror edges, which attack the silvered backing; and harsh solvents on finished hardware — matte black and champagne bronze are coatings, and solvents dull them. Soft cloths and mild cleaners handle everything a healthy install needs.
Give railings a mild-detergent wash and a hardware check each spring and fall: confirm clamps and standoffs are snug, drainage points are clear, and no panel edge sits in direct contact with metal or stone. Don't scrape ice off tempered panels with metal tools — let it melt or use warm water. Road-salt spray rinses off with plain water and won't harm the glass itself.
Questions about maintaining your glass?
Built By Glass provides maintenance assessments for existing installations across the GTA. We'll tell you honestly whether a clean, a seal replacement, or a hardware adjustment is what's needed — and give you pricing that makes sense.